Solar Lamp reflection

My partner and I made a solar powered lamp that lights up a room like no other. We did it by using a small box which has the light on top and contains all the wires inside. We did it by cutting a square hole into the top which the lamp sticks through.

The importance of this project is so that we get some hands on experience that gives us the ability to be able to create our own solar lamp with material such as, wires, an led, and solar. I think my partner and I did well on designing and finished the project. 

I definitely improved from the last time we went into the maker space because this time we were able to use things such as the electric drill, welder and more advanced materials/tools. Using these materials show improvement from the last time we entered the maker-space. They show improvement because the last time I was in the maker space we did not use any tools.

The way I would change my project would be to improve by making our lamp more durable and painting the whole box and the lamp the same color (orange). The way the solar lamp works, is by the connectivity of the battery’s, solar panel, and light bulbs wires. This works in a certain way, the connectivity between the battery and the solar panel allows the battery to constantly recharge. The connectivity between the battery’s wire is constantly providing light.

The circuit is a closed loop that has a load, a power source and is made of conductive material. The solar’s wire connected to the battery’s wires allows rechargeable battery throughout the day and  light throughout the night. This battery is constantly being charged when the lamp is turned on or off.

If I was to redo this project it would only be for more rock solid information. With the help of  the videos and the notes I was able to easily define the symbols and draw my own circuit. I honestly can say that my partner and I worked hard and efficiently on our lamp, and enjoyed every step of the creation. 

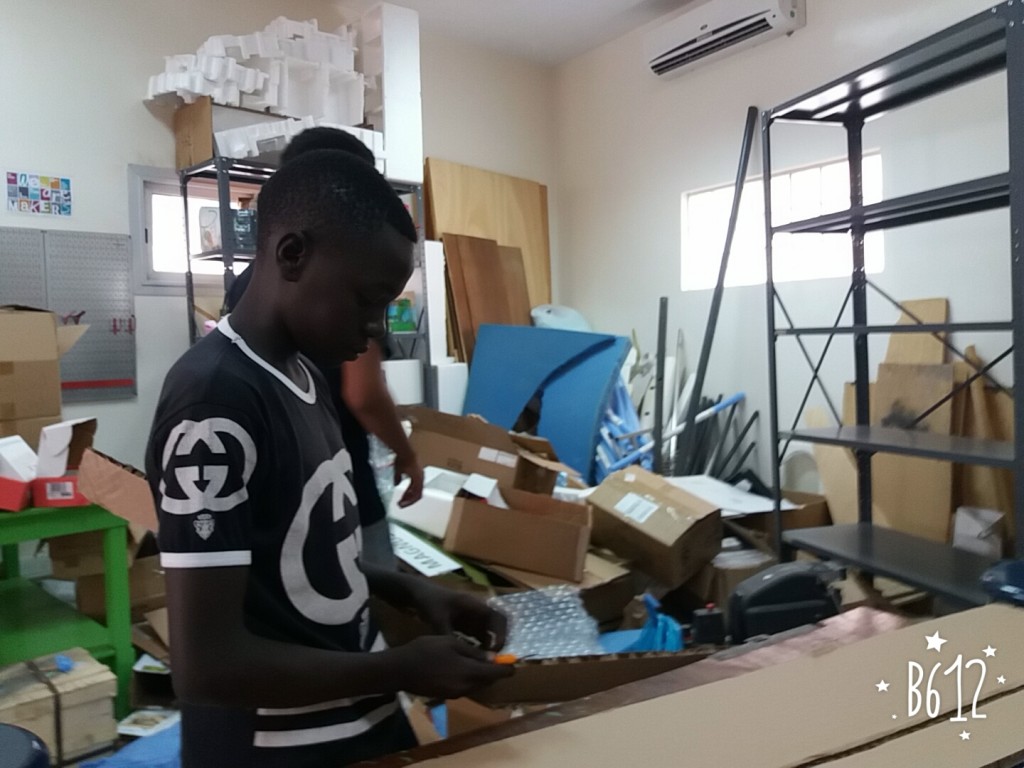
In this picture my partner is welding the metal together, in order to make the battery and the solar’s wires connect.

In this picture, you see the final draft of the lamp. We painted it orange so that it could glow all over the room, which apparently it does.


Unit 1 Periodic Table

Throughout this project, I have made new friends and came up with new ideas. Our project was based on the game “risk”.  The game risk is a strategy board game produced by Parker Brothers. It could be played by two or more people, and the mostly used version is the standard one which is played on a board depicting the political map of the Earth, divided into forty-two territories grouped into six continents.

The objective of the game is to occupy every territory on the board and in so doing, eliminate the other players. Players control armies with which they attempt to capture territories from other players, with results determined by dice rolls. Before we came up with the solution of getting ideas, we browsed the net to find pictures that would inspire. We went through all the different types of games you could imagine, but we had to turn down some of the good ones and finally ended up with the ‘risk’ game.

Unfortunately the game was not as good as we thought it would end up being. Not only because of the grade we received but also because of the challenge in having the right materials for the game. The game is quite simple as one does not need to know as much about the game in order to play it. It requires a better understanding of the game than the periodic table. It took us about 2 classes to stabilize our idea of using this game.

Building the project took the greater of our time as it took a lot of time to cut out the perfect size cardboard that was used to put the map on. Before we started our topic on the periodic table I had no knowledge of the atoms, anions, cathodes, anode and other vocabulary such as atomic mass and atomic number. I now feel accomplished because we were panicking that we would not be able to come up with an idea to be used for our project.

Given the opportunity and with the my increased understanding of the instructions, I would redo the project to improve my grade. Overall, our journey was long, fun, difficult, and unforgettable. Below are pictures that show the process of the whole journey.

As you can see here John is showing us hi idea which was great, but we did not end up using.

As you can see here John is showing us hi idea which was great, but we did not end up using.


As you can see here Lois was trying to fin a perfect size map to put on my cardboard.

As you can see here Lois was trying to find a perfect size map to put on my cardboard.


As you can see her, I : Alfou was cutting out the perfect piece of cardboard to put the map of the world on.

As you can see her, I : Alfou was cutting out the perfect piece of cardboard to put the map of the world on.